2009-4-30, 1:14 am
As announced in our last post, we did plant a new vinyard just recently. Following the Announcement we
have of course not only planted the vinyard but also made lots of pictures four you to see. So, if you
always wanted to know how a vinyard is created, this is your chance. Come and have a look!
The work took us the whole day but it was a very nice and satisfying one. Pictures do of course say much
more than words, so look through the gallery and enjoy. Every step of the vinyard's creation is documented
by one or more photos and a fitting description as well.
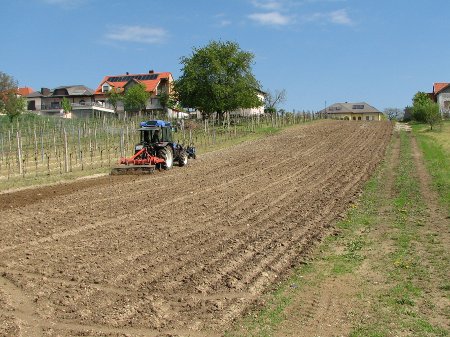
The field before the work - At first the subsoil is
loosened.
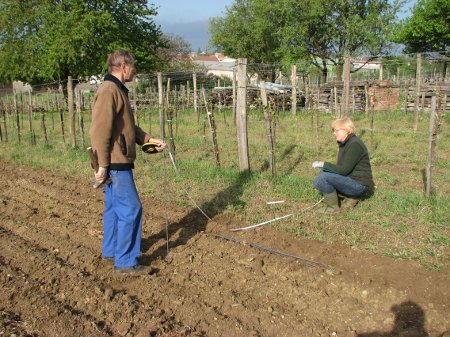
Measuring the distance between rows - Not too
close to the neighbours!
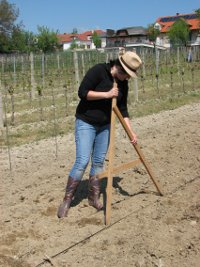
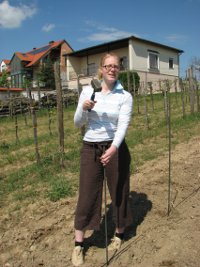 Old but reliable, "circling" distances.
Hammering support rods into
the ground.
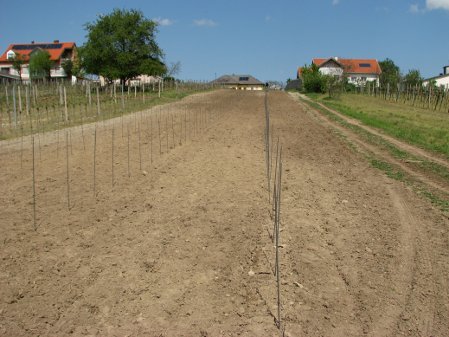
All support rods are up - The vines can now be planted next to
them.
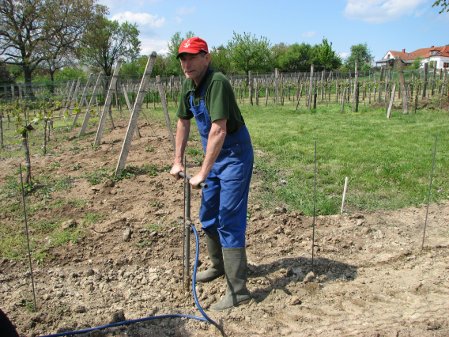
Digging holes - It's much easier when using a water
drill.
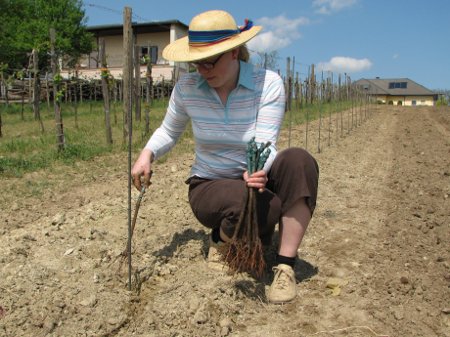
The vine goes into the planting hole ...
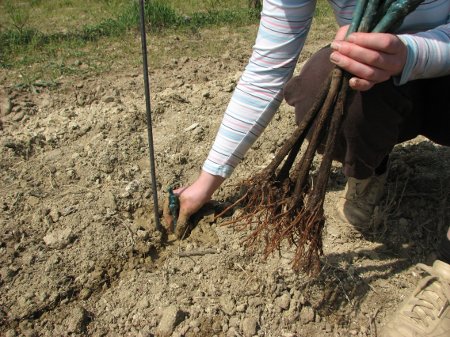
... is inserted almost completely ...
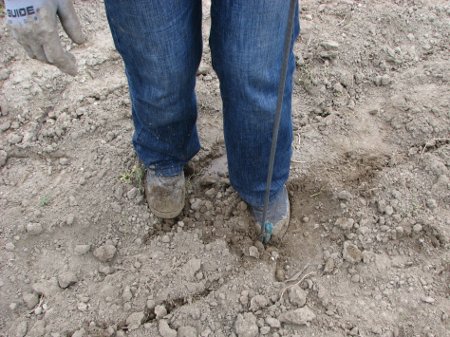
... and the soil is compacted by stepping on it.
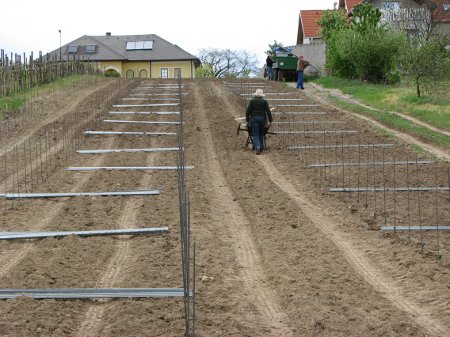
Distributing the pillars - They will later on
support the trellis.
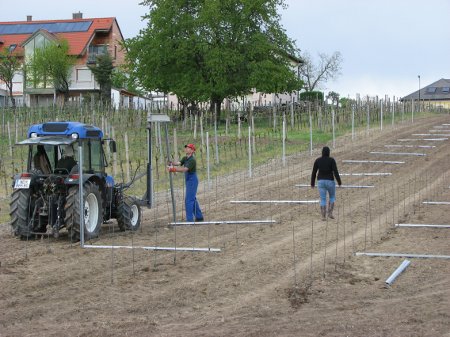
Pushing the pillars into the ground -
Isn't it nice to have a tractor for the really hard stuff.
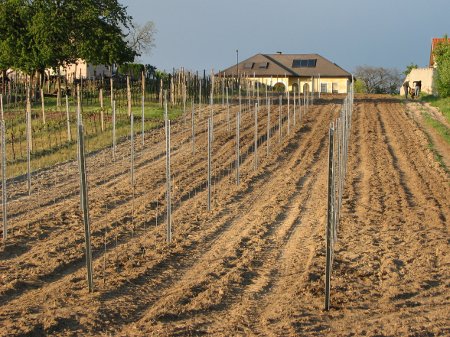
Everything's in line - The end of
a hard day's work
As you can see there are still some things missing. We still have to
put up the wires that form the trellis as well as nets that protect the young growing vines from beeing
eaten by rabbits or deer. This will be done within the next week or two and we will post some pitures of it
afterwards as well.
Comments


